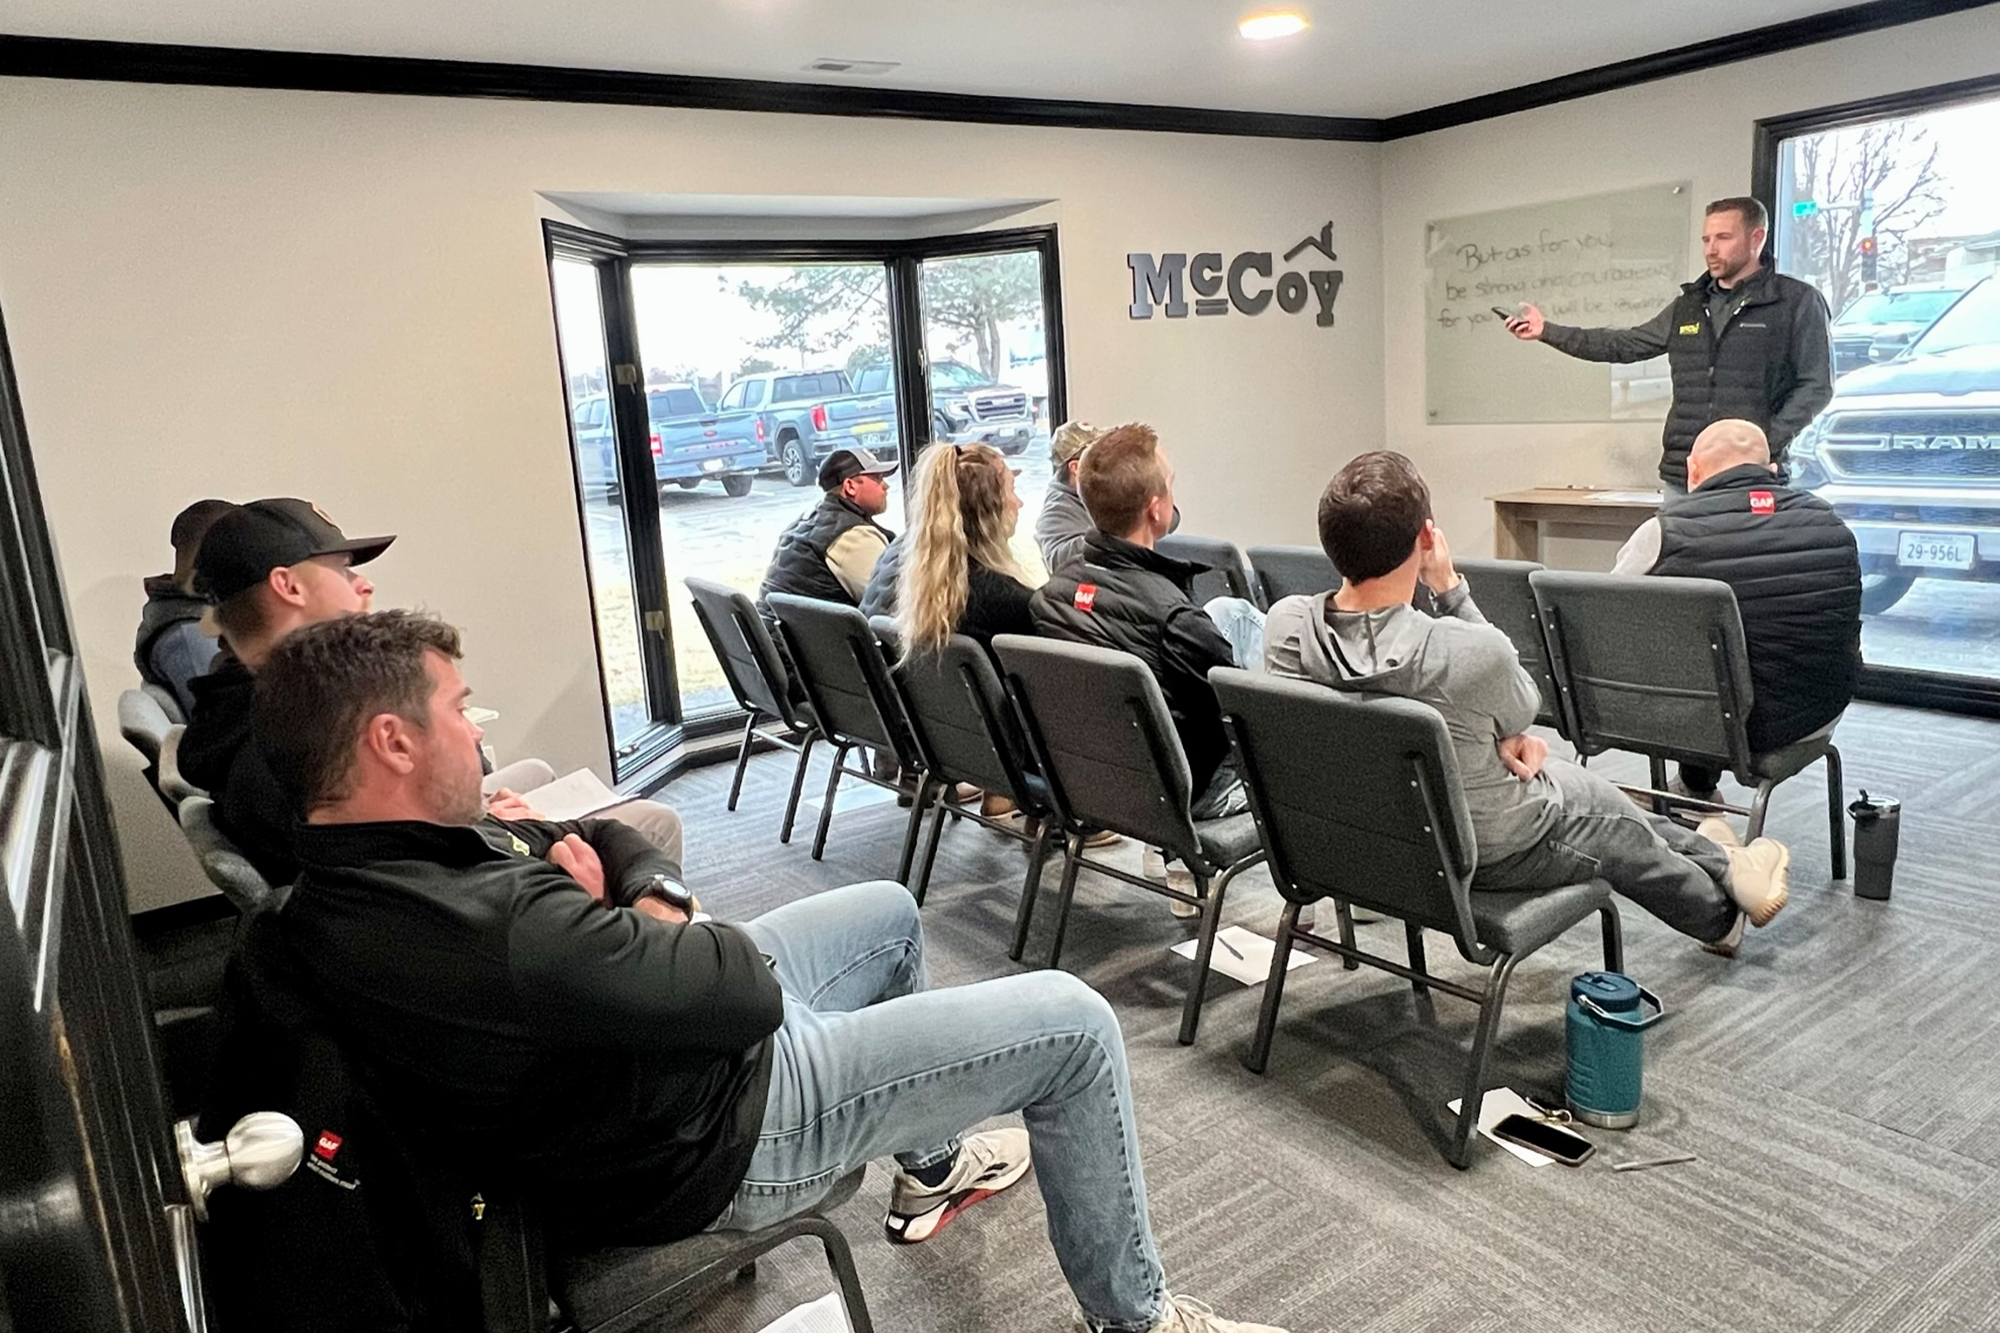
The McCoy Roofing Installation Process.
Installing a roof is essential to any home or commercial construction project. After a severe storm or even at the end of your roof’s life span, it’s good to understand the installation process. Below is our 5-step process that will guide you through the installation process at McCoy Roofing.
If you are still unsure of the condition of your roof, schedule a free roof inspection with one of our project managers today.
The installation process for your roof.
Step 1
Arrival
The McCoy Roofing crew and the project manager arrive in the morning and create a game plan.


Step 2
Tear Off
Our crew removes the old roof from your home. Tearing off the old roof is the messy part of the project and where most issues occur. Staying away from the job is very important as materials are flying everywhere.
Step 3
Inspection
The crew will inspect your roof decking to ensure there is no rot and that we are nailing to a solid nailable surface.


Step 4
Installation
First, the roof is “dried in”, which means the felt is covering the roof, and we install the drip edge making your roof watertight. After this, we install the shingles and other elements of your roof.
Step 5
Clean Up
At this point, the yard is rolled with a magnetic roller to pick up the nails, the foreman inspects the job, and the crew leaves. At this time, the McCoy Roofing project manager also checks the job has been completed correctly. It is important to note that the owner inspects every replaced roof.