
How to Install Shingles on a Shed
When it comes to building a shed, the roof is one of the most important parts. Read on to find out how to install shingles on a shed.
Sheds have had a renaissance over the past 18 months, in part driven by the COVID-19 pandemic.
In the summer of 2020, there was a 400% rise in interest in sheds. With more people working from home, people wanted low-cost spaces for home offices.
Even with things going back to pre-pandemic life, sheds still offer a lot of value for your backyard. They make great playrooms or reading nooks.
And they don’t have to look dull. You can liven up your shed by installing shingles on the roof.
This makes the roof more durable and shingles aren’t that hard to install.
Wondering how to install shingles on a shed? Read on to find out.
Installing Shingles on a Shed
1. Check the Roof Structure
You need to be sure your roof structure is ready to take a shingle roof. If you’re building a shed, keep the frame level and square before starting the roof.
Now you can start filling in the room. Cover the beams with exterior-grade plywood. This creates a canvas for the rest of the roof. You need exterior-grade plywood because it resists moisture when outdoors.
Keep the grain of the wood at a right angle to the rafters. Use galvanized nails to attach the plywood to the rafters.
Check local guidelines for how far apart the nails should be. The requirements vary depending on weather conditions in your area. Here are the Nebraska building codes.
2. Add the Drip Edge
Install a drip edge onthe roof. This sits under everything else to keep water away from the plywood along the eaves.
Make sure you extend the drip edge around 2″ up the roof. This will give a tidy finish and protect the corners.
3. Make the Roof Watertight
Now you’re going to install an underlay of felt paper to create a watertight layer. This will help the roof withstand any water that might get under the shingles.
Start at the bottom of the roof. Lay the building paper across the roof and line it up with the drip edge. Nail the felt into place along the drip edge.
Use plastic-capped nails so they don’t tear the paper. Overlap the next layer by approximately 4-6″ and nail it into place along the bottom edge. This will also help hold the first layer in place.
Continue moving up the roof, overlapping each layer as you go. The final sheet should straddle the roof peak which helps water drain down the roof.
Finally, install a drip edge along the roof rakes. You put this edge above the building paper to keep moisture from getting underneath. Install the edge so it overlaps the drip edge along the eave.
4. Pick Your Shingles
There are two main types of shingles to choose from. Asphalt three-tab shingles are inexpensive and usually come with a warranty.
Luxury or premium shingles are thicker since they’re made of layers of laminated asphalt. They’re more expensive so they last longer.
You might find that premium shingles match the shingles on your house roof better. Keep in mind though, asphalt singles will last around thirty years.
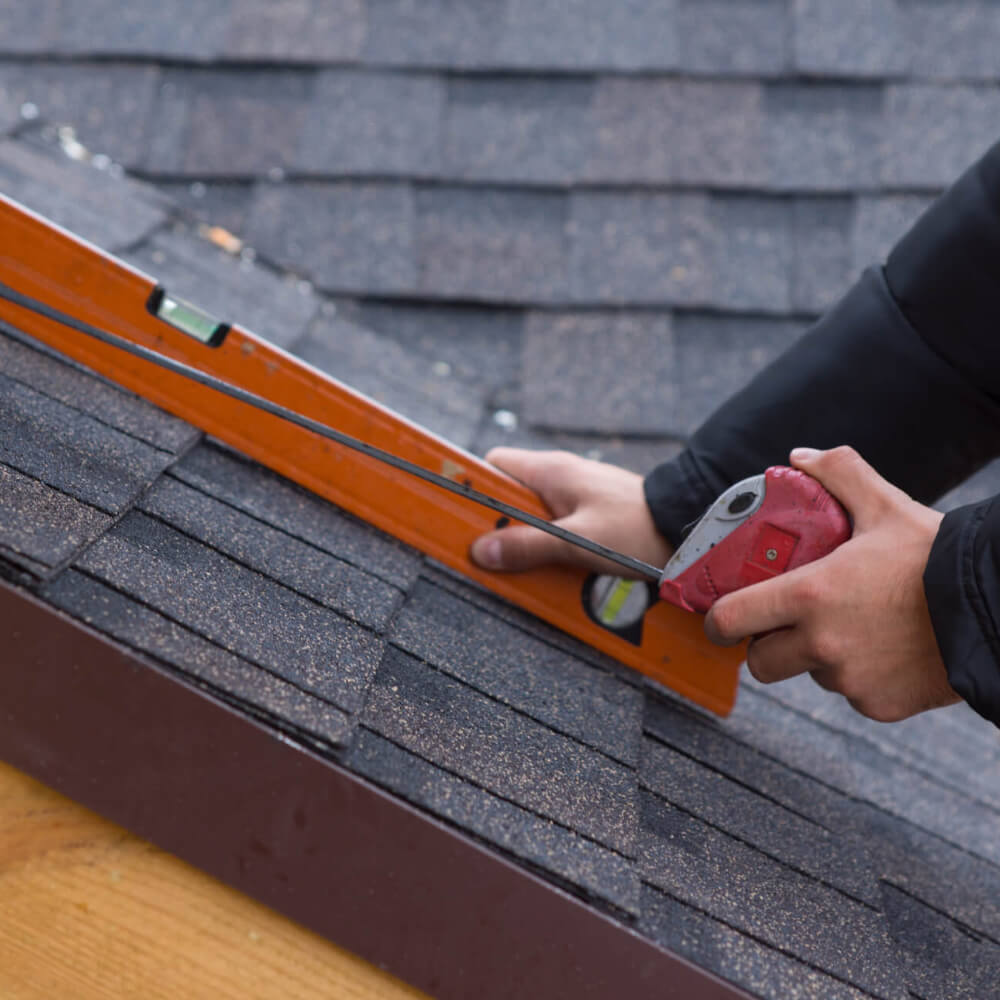
5. Mark Out the Roof Lines
Mark horizontal lines across the roof so you can install the shingles in a straight line. Measure up the roof from the drip edge towards the peak.
Draw a mark every 12″. Join these up to create your guidelines. Following these lines will give you a professional-looking shingle installation.
6. Prep the Roof for the Shingles
We have a little prep to do before you start installing shingles. This is going to ensure the roof is watertight and hold the wind at bay too.
Smear tar along the lower roof edge. Don’t use too much or the tar may ooze out from beneath the shingle.
Affix a row of roofing shingles upside-down along this edge. Offset the first shingle by 6″ so the slits of this row don’t align with the slits on the next row.
7. How to Install Shingles on a Shed
Now you can lay the rest of the shingles. Start at the bottom of one side and work across the roof. Lay your first shingle over the upside-down shingle.
Nail it into place. Regular asphalt shingles usually need four nails per shingle. Put nails at each end and then above each of the two slits.
Once you’ve completed the first row, move up the roof for the second row. Move the shingle over by 6″. This staggers the shingles so the seams don’t align.
There are other staggering patterns you can use, so decide which ones you like before you start designing a shed. Sometimes people use the seams in the shingles as a guideline.
Continue working in this way, using your chalk guidelines to align the shingles. Cut the overhang as you go to save time at the end of the installation.
Stagger every other row until you reach the peak. Repeat the process on the other side of the roof.
8. Finish the Roof Ridge
Work along the roof ridge with the final shingles to stop water from getting into the roof at the peak.
You can buy pre-cut roof ridge shingles or cut them from your asphalt shingles. If you’re cutting them yourself, cut the shingles into thirds by using the slits as a guideline. Bend the shingle over the ridge so half of the shingle covers each slope.
Make sure the finished side of the shingle faces up. Start at one end of the roof and overlap the pieces along the ridge as you go.
Enjoy Your New Roof
Now you know how to install shingles on a shed. Prep the space beforehand and be sure you have all the materials you need before you start. Buy the best quality materials you can for a longer-lasting shed roof.
If this sounds like too much work, then hand the job over to the professionals. Here at McCoy Roofing, we have over a decade’s experience in providing quality roofs for our customers.
Get your simple, no-obligation estimate by booking a professional consultation. Book online or call 402-616-7304 and we’ll assess your roofing needs.