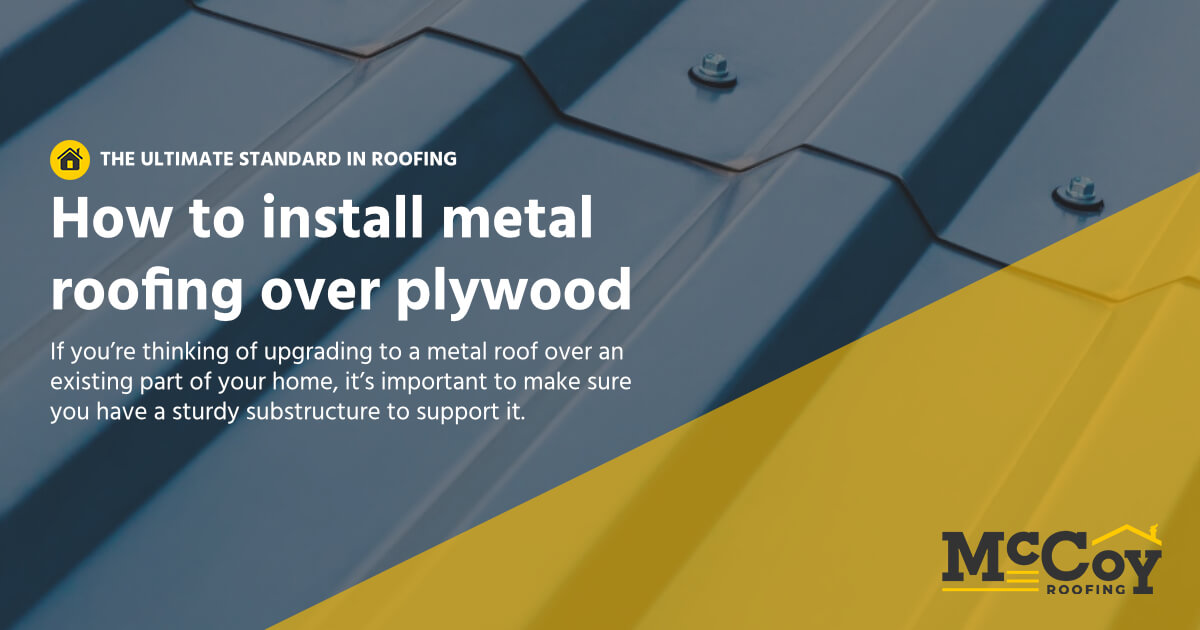

How to install metal roofing over plywood
If you’re thinking of upgrading to a metal roof over an existing part of your home, it’s important to make sure you have a sturdy substructure to support it. A good substructure will not only act as a base to attach the roof’s fasteners, but also is a vital structural support system. Whether its rain, snow or wind, or just the weight of the heavy metal roofing materials, a good substructure is going to transfer the weight of those loads properly and keep your roof structurally sound.
If you’re thinking of installing your metal roof yourself, here’s a few steps and tips to make sure it’s secured properly and that the underlying structure is sound.
Inspect your plywood
After the original roofing is removed, what you will want to do first is look for bad pieces of plywood sheathing that you’ll need to replace. These are large boards attached to the rafters and purlins of your roof which serve as structural support, barriers between the roof and the lower parts of the substructure and material to attach your underlayment to.
It’s also important to make sure you’re using the right plywood for the job. According to the Metal Construction Association, you want wood that complies with standards set by the American Plywood Association or Department of Commerce. This wood will contain an APA stamp which includes a number of figures including: panel grade, span rating, thickness, exposure durability classification, veneer grade and the mill number. The important numbers to glean from this are the thickness—you should use plywood that’s at minimum 15/32 inches thick—and the span rating—which you’ll want to make sure matches your other plywood boards, especially if you’re doing any repairs or replacements.
In addition to prepping your plywood, you’ll want to make sure it’s clean of dirt and dust as well as any protruding pipes, vents or other protrusions.
Applying the underlayment and the slip sheet
Most metal roofs will also require underlayment as well as a slip sheet.
The underlayment, also known as roofer’s felt, is usually asphalt, synthetic or polymer based. This material separates the roofing from the substrate, provides secondary weather protection and guides drainage down the side of the roof. To secure it, measure it, roll it out over the plywood, cut it to the dimensions of the roof with a roofing or utility knife and finally hammer it securely to the plywood with 1/2-inch roofing nails.
On top of this underlayment goes a slip which protects the material from tearing as the metal roof expands and contracts with changing weather. The National Roofing Contractors Association recommends a slip sheet of smooth building paper.
Installing the roof
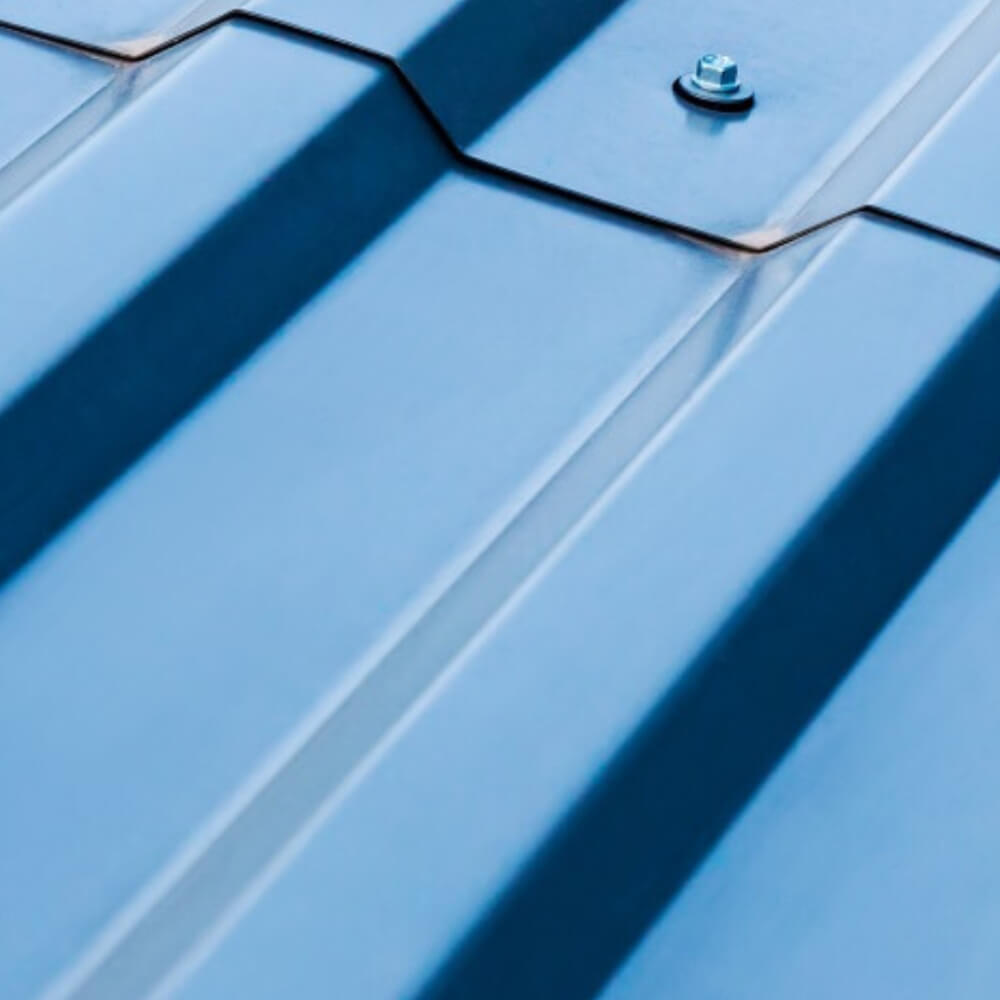
Now it’s time to start installing your roof’s metal panels. Start at the bottom left side of your roof laying it flush with the eave and working toward the right. Make sure there’s a 1-inch overlap the edge of the roof by one-inch then secure it by drilling 1-and-1/2-inch galvanized metal screws through the panel in 12-inch to 16-inch intervals.
Overlap the next panel straight above the first by 12 inches and secure it the same way you secured the first. Continue until you reach the top of the roof, measuring the last panel and removing excess material with metal snips.
Then, start on the next column of panels, aligning the first rib on the left side of your new panel with the last rib on the right side of the panel you installed first. Continue until you’ve covered the whole roof and finish by installing rubber pipe boot kits around all vent pipes.
Running into issues with the install? Want some help? Give the metal roofing professionals at McCoy Roofing a call today at 402-616-7304